picture Perfect presents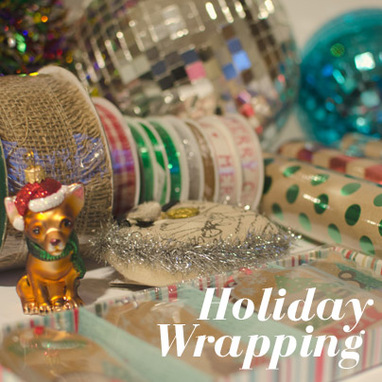 It's my favorite time of the year, when gift giving starts! I have had a lifelong love for boxes, fancy boxes, gift boxes, heart shaped boxes, jewelry boxes you name it I collect it. Makes sense then when I tell you that I love to wrap presents. I'm pretty proud of my gift wrapping accomplishments so I'm going to share my techniques with you! When my daughter was young to keep her from peeking or shaking her presents I would wrap all the gifts in themed paper for each individual receiving a gift, no tags. This made it impossible for her to figure out which gift was hers, ensuring a surprise Christmas morning. Now she's a teen and I continue to wrap presents in a theme but I don't have to worry about her shaking boxes anymore.... Here's how I do it. Lets get started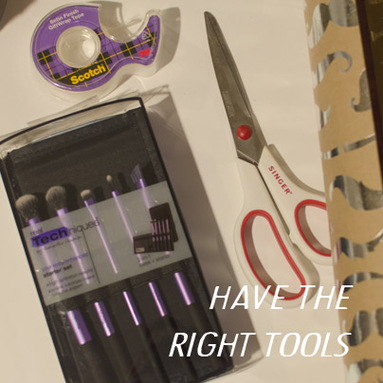 Step one: Have the right tools. Clear off a space or table where you can work free without restrictions. Have tape, scissors, wrapping paper, ribbon and bows all at your finger tips. This will expedite your wrapping process and ensure less stress. This is the fun part remember? 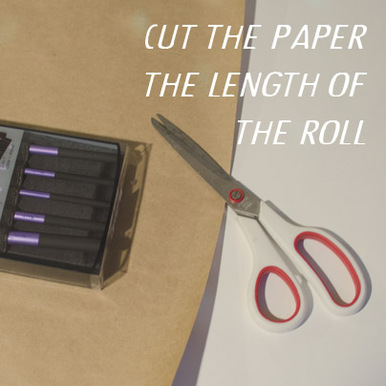 Step two: Measure out the sides of the product you're wrapping and cut the entire length of the roll. You may not use all of the paper you've just cut but it keeps the remaining paper neat enough to tuck away and easy to work with for the next gift.  Step three: You can trim off the excess from the length you've just cut and use it for another gift such as a stocking stuffer, or for scrap booking. Make sure that you will cover the back measuring all 4 sides and using a ruler or I just roll the box on the paper 4 times and cut a little more than that to ensure I'll cover the box I'm wrapping. 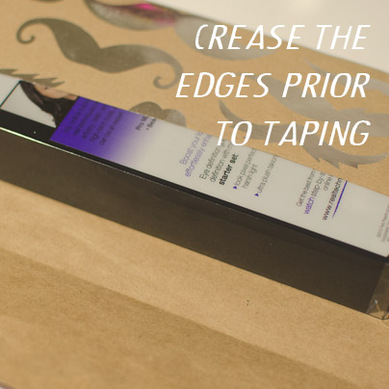 Step four: Crease all of the fold edges before you tape down the paper. This makes the wrapping look like it was manufactured in the wrap. Crisp and clean. 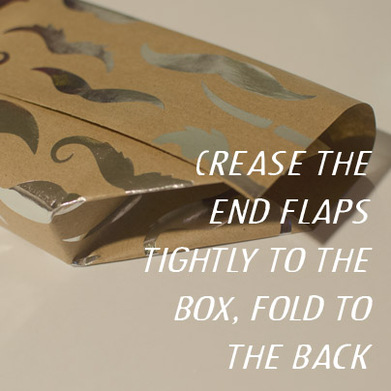 Step five: Crease the flaps as you fold into the box making a point. Gently pull the folds over to the bottom of the package and tape. This way your tape is hidden on the bottom. 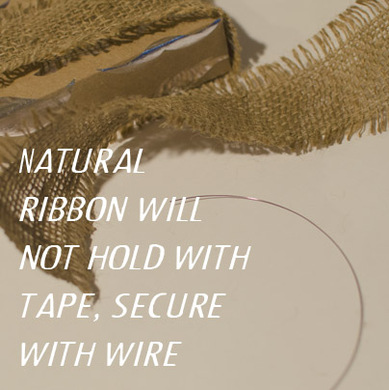 Step six: Now that you're all wrapped you get to do the fun decorating and embellishing part! I am using natural ribbon with brown paper wrapping this year which will not be held in place with tape so I've wired it at the bottom to keep it together and on my package. Don't secure it too tightly however, you want it to easily slide off for whomever is unwrapping your gift. 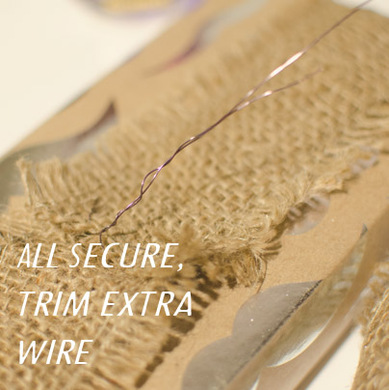 Step seven: Once my main ribbon is secure I'll use a more decorative ribbon to tie a bow at the front and make sure everything stays in place. After I add a tag and an ornament for additional fun. I've started my daughters ornament collection by tying one to each gift each year. When she moves out on her own she'll have loads of ornaments for her tree! The finished look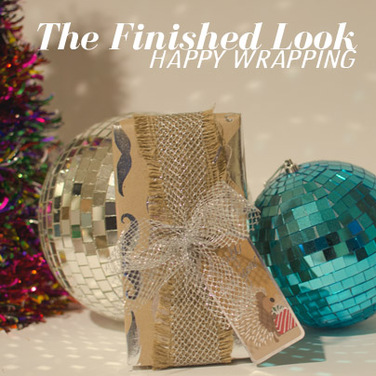 This seems like a lot of words and pictures but this only took me about 6 minutes to wrap start to finish. Once you've got the technique down wrapping goes pretty quickly and your packages will look like you had them done at a fancy department store. It's all about presentation! Have fun and comment with questions and please share on Pinterest!
Happy Wrapping! Everything pictured was purchased at a discount store, the trick is to go early in the season before everything is picked over. TJ Maxx and Marshalls have great offerings at a low cost. Micheal's offers loads of ribbon, and I picked up everything at 50% off. Find something beautiful to wrap your gifts in and people will be excited to open them!
0 Comments
Leave a Reply. |


Elle HallsDESIGN TALK Archives
July 2023
Categories
All
Mailing list: |
 RSS Feed