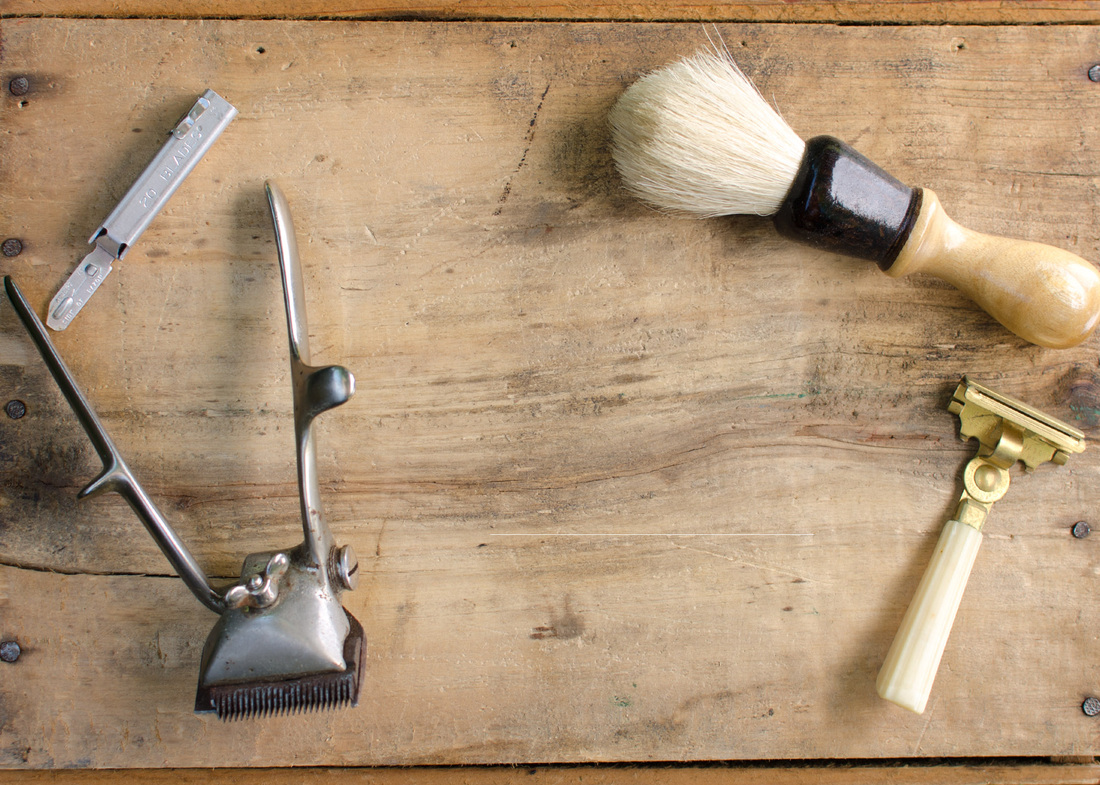
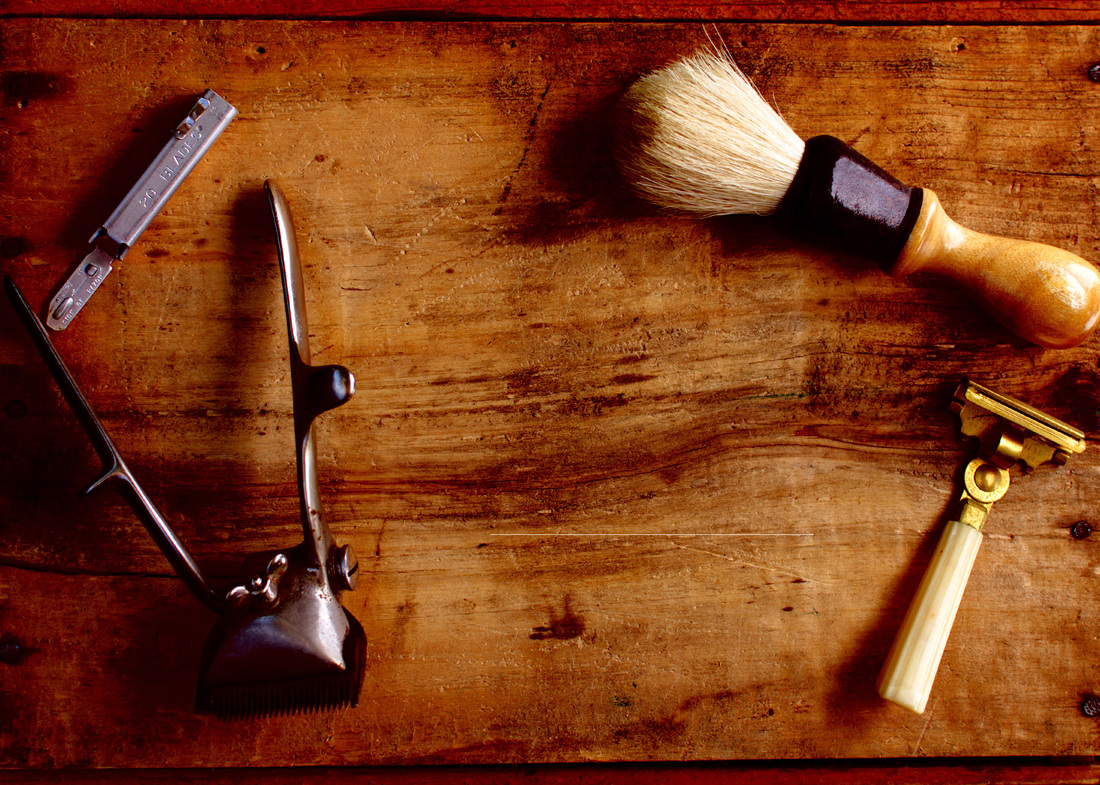
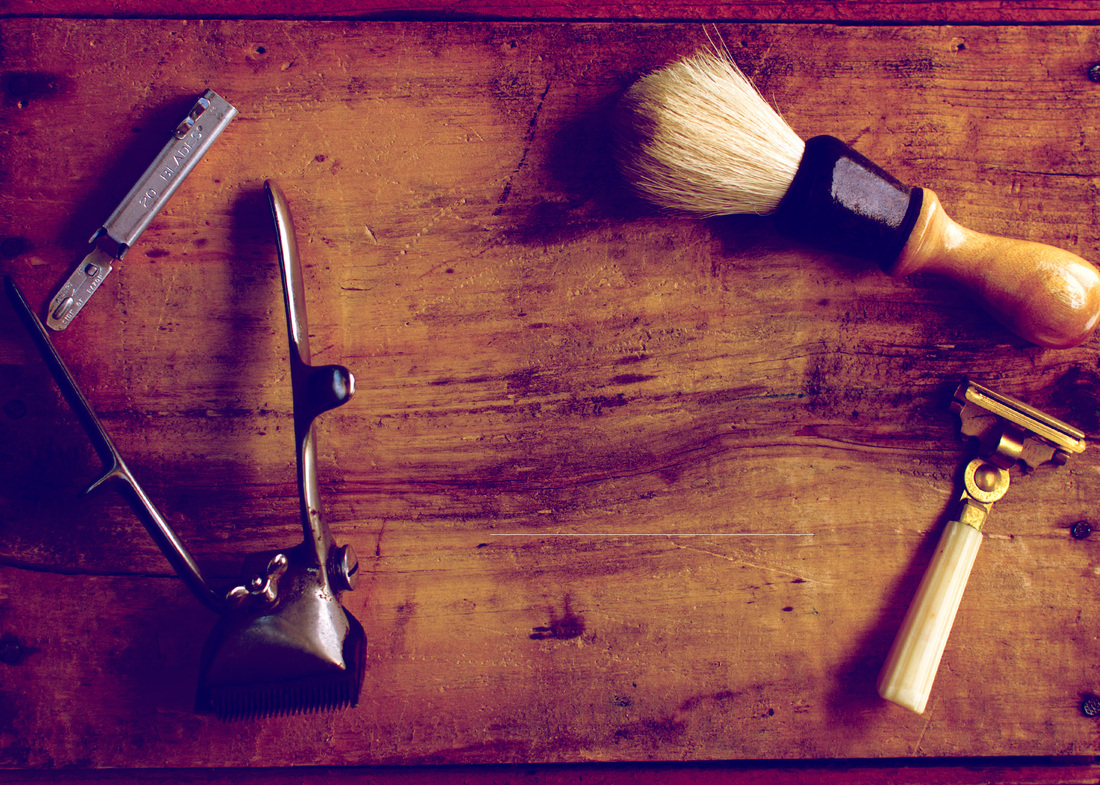
Rustic Barber Header images, Free for personal use
I capture images for designers to use as stock and I'm giving away some images here free for personal use. Please feel free to "drag and drop" and create some designs out of the images provided below. Enjoy!
0 Comments
  I know that summer is winding down, but the damage from the fun in the sun is probably adding up and your hair is showing the effects. I'm going to share a couple of my favorite Summer Hair Hacks to have your hair on it's way to looking it's best again!
Dry frizzy hair? Want some shine back? It's no secret that I'm obsessed with coconut oil. I use it for everything. Yes, everything... even a hair mask. Coconut Oil Hair Mask What you'll need.... Coconut oil, preferably organic blah, blah, blah. And a shower cap. After showering (at night, I just rinse my hair prior to application shampooing is not necessary) place anywhere from a teaspoon to a tablespoon (or more depending on length and texture of your locks) in your hands and melt. Quickly work through your damp hair from root to tip. Once applied wrap up your hair in a bun and cover with a shower cap. Leave on over night, shampoo and condition as normal and voila! Super shiny and conditioned hair. The mask should be applied every one to two weeks for maximum benefit. Natural, and inexpensive! Smells super summery too! Green pool hair? Don't cut it! Use a little baking soda and it will come right out! I've also used this baking soda trick to take out Manic Panic that is faded or even demi and semi permanent hair dye. Baking Soda Chlorine Remover Simply wet hair and add 1 tablespoon of baking soda to your USUAL amount of shampoo. The mixture will be paste like. Wash your hair with the mixture, and let sit on your hair for 10 minutes. Repeat. Only do this twice. You don't want to completely strip the natural oils out of your hair. I recommend a good conditioner after (maybe the coconut oil treatment) and if you still have a tint of green in your hair wait a good 24 hours before using baking soda on it again. I've used this to strip out demi and semi permanent hair color so it should greatly reduce the green tint from too much time at the pool! Want that sexy beach hair? You know... sea spray looks good on you girl. I'm land locked though! No beach for 2,000 miles so what does a girl do? Spend $16 on a designer spray? That's crazy talk. Beachy Wave Hair Spray What you'll need: 1 cup hot water 1 tsp sea salt 1 tsp coconut oil 1 tbsp hair gel 1 tbsp hair conditioner (optional) Recycled spray bottle Instructions (it's not complicated I swear) Dissolve the sea salt in the hot water. Add in the coconut oil and hair gel, mix well. Add in the hair conditioner (optional) Whisk and blend together well, pour into a spray bottle. Shake well prior to applying to hair and be transformed into one of those red swim suit wearing hotties dashing through the sand with great hair! If you're like me you don't blow dry your hair in the summer. I am a "wash and wear" kinda gal when the temperature passes 80. I do love to throw my wet locks up into a bun and allow it to dry naturally. At night I take it down for PERFECT waves that are sexy and frame the face. And my hair smells amazing at the same time. I don't have to worry about breakage as I drive with the windows down and my hair typically grows a lot with the extra care I give it in the summer. My last and final hack for your summer hair style is to FLIP your bobby pin. Yep, flip it over - put the bumpy side down and it will grip your hair so that your wet hair will hold as it dries in your fancy bun. As always if you've got some summer hair hacks of your own, share with me! I'd love to hear them!   1) Try to invoke a natural smile. Know the difference between your subject painting on a smile for the camera and an actual smile. Learn a couple of jokes to tell your model, and be ready to capture a real moment! Make yourself laugh!
2) Cross your legs. You'll look leaner, and more polished. Don't squat. Especially if you're a woman. It's not flattering. If you cannot cross your legs at the knees, do so at the ankle. 3) Posture! Pretend you're squeezing an orange between your shoulder blades to give you perfect posture in an instant! 4) Avoid a double chin by moving it forward and slightly down. It may feel uncomfortable, but it will look great. Practice this in the mirror to ensure the right technique. "Feel" how you want it to look so you can quickly and easily recreate that pose in front of the camera without the assistance of a mirror. 5) Keep things natural. If you normally don't sit outside with your arms above your head then don't do that for the camera. Overly dramatic poses look more glamour or pin-up than portrait or fashion. 6) Confidence! If you don't have much or you're just starting out... Fake it until you feel it! Modeling and posing is acting. Create a character for yourself to become in front of the camera to help you build confidence until you naturally command the lens. As always if you've got any tips or tricks of your own please share them! Happy shooting!  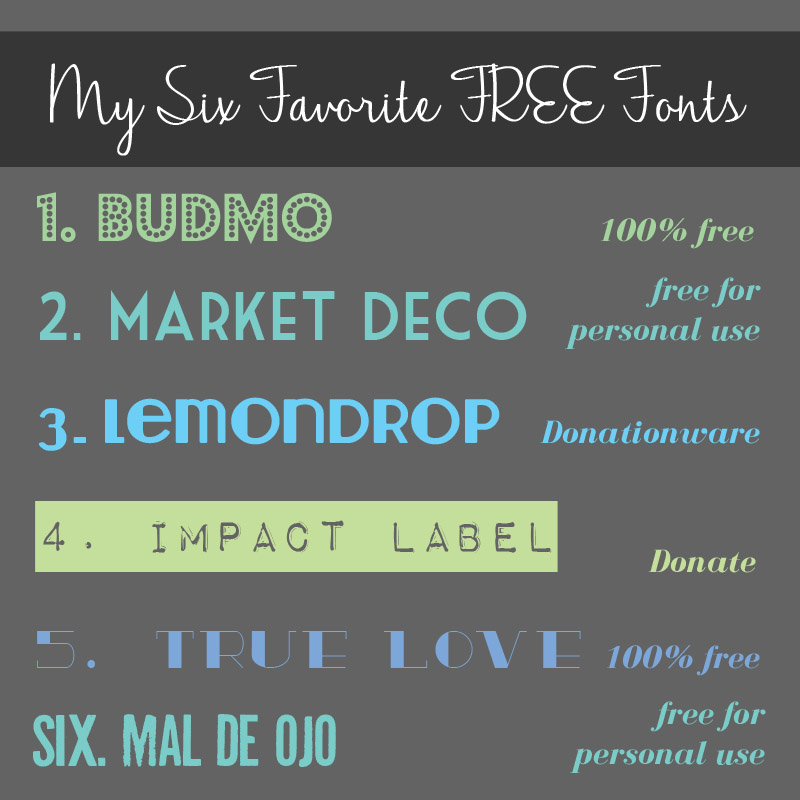 I just wanted to share with you my favorite six free fonts, they are all currently available for download at dafont.com. I am in no way endorsed by that site, however I do find quite a bit of design inspiration there. I'd love to see how you used these fonts if you've downloaded them for yourself!
 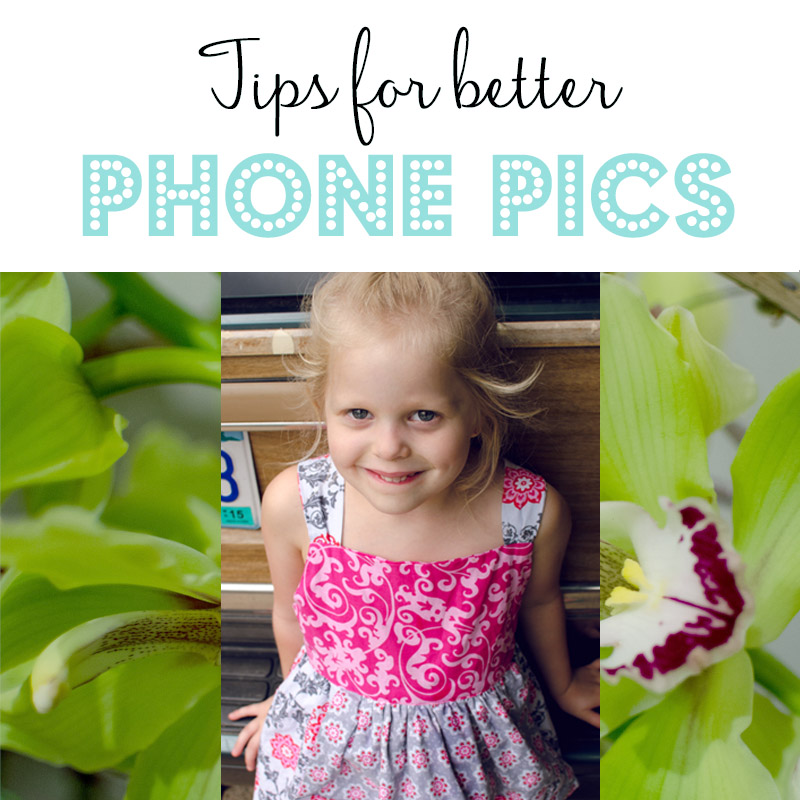 Tip One: Move toward the light
Any camera film, DSLR, or phone all do the same thing - capture light. When you have good light, you'll have good photos. If you're capturing something that can be moved, try to arrange it so that the light flatters your subject. If you're shooting at night, the onboard flash may do the trick - but I recommend looking for a light in the area as long as your subject is movable. Overhead lighting or street lamps can work great at night for getting the better images. Just try to find some flattering light and move towards it. Tip Two: The in App camera is not your friend Don't use the camera in an app, use the camera icon on your phone. The in app camera will downgrade the resolution of your images. When you use the camera icon on your phone for your photos you'll be able to adjust lighting and contrast as you capture providing you better images. Tip Three: Forward facing camera is bad Don't use the forward facing camera. The forward facing camera uses less pixels than the rear facing camera and you'll notice a compression issue as well. If you're trying to get a great selfie of your new outfit or hair style, use a mirror and the forward facing camera. You'll get a better looking photo with less "noise" or digital distortion. If you've got an iPhone you can use the "handicap" option that will allow you to set the phone down and capture an image hands free, it works just like a timer. Tip Four: Cleanliness make sure you don't have any obstructions on your lens. If you're like me your phone is in your purse, pocket, table, desk, everywhere and it gets pretty dirty pretty fast. Just a simple quick wipe before you go to snap your pictures will ensure a better capture! Tip Five: Hold still! This doesn't apply necessarily to your subject as much as it is does to you. Much like any other camera you may use, any shaking while holding the device will create some blur to your images. Try to hold the camera steadily while you shoot away. Tip Six: No Zoom Don't zoom in before you snap. Wait to crop the image. Once you zoom on a cell phone camera you're degrading the quality of your final image. While it's an option, it's not going to help you capture a masterpiece. Try using an editing app to zoom in on your subject after you've captured. Please let me know if you've got any tips for mobile photography of your own! Happy shooting! |


Elle HallsDESIGN TALK Archives
July 2023
Categories
All
Mailing list: |
 RSS Feed